Prerequisites
-
Linux DevOps skills
-
Docker and Docker Compose skills
-
AWS IAM user account with the following privileges:
-
Access to the AWS Management Console
-
IAM Policies:
-
AmazonEC2FullAccess
-
AmazonVPCFullAccess
-
-
Access Keys to the YOUnite ECR (Docker Repository)
-
To request an IAM User Account and access keys for the YOUnite AWS ECR, contact:

-
You will receive the two keys:
Access Key IDandSecret access key.
-
AWS ECR User Keys
Access key ID: AKIACCDDEEFFGGHHIIJJ
Secret access key: 000111DDDccchDDDEEEE333777777QXHj8T
YOUnite Basic Stack Services
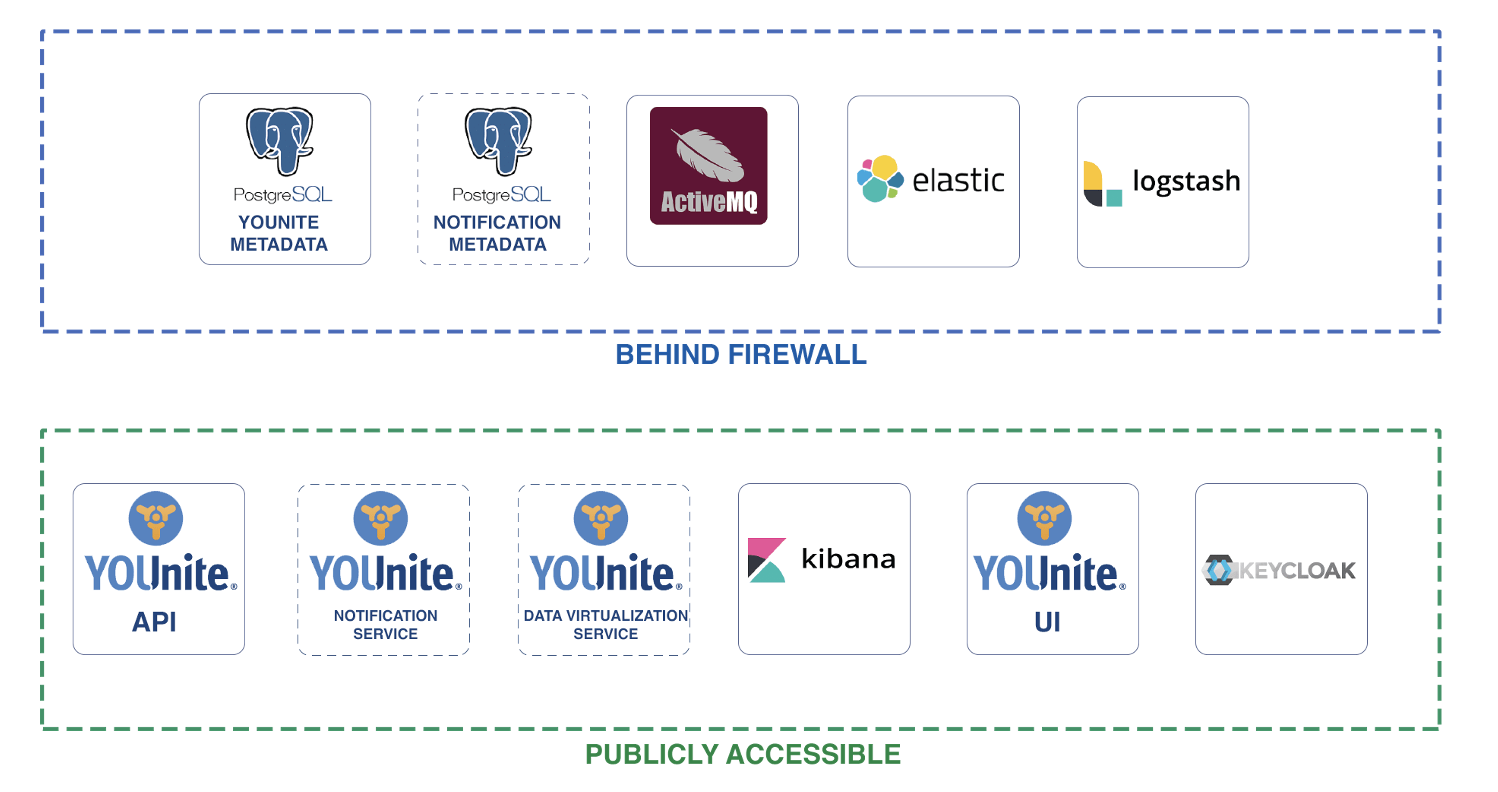
Creating the AWS Instance
Perform the following steps to create an AWS Instance to run the YOUnite Basic Stack.
Locate or Create an Elastic IP
It is recommended to have an Elastic IP associated with the instance, otherwise a significant amount of configuration work will need to be repeated each time the instance is restarted.
Locate an existing Elastic IP associated with the account within EC2 → Network & Security → Elastic IPs
If there are no non-Associated Elastic IPs available for the accound then select Allocate Elastic IP Address, select Amazon’s pool of IPV4 Adresses, then select Allocate
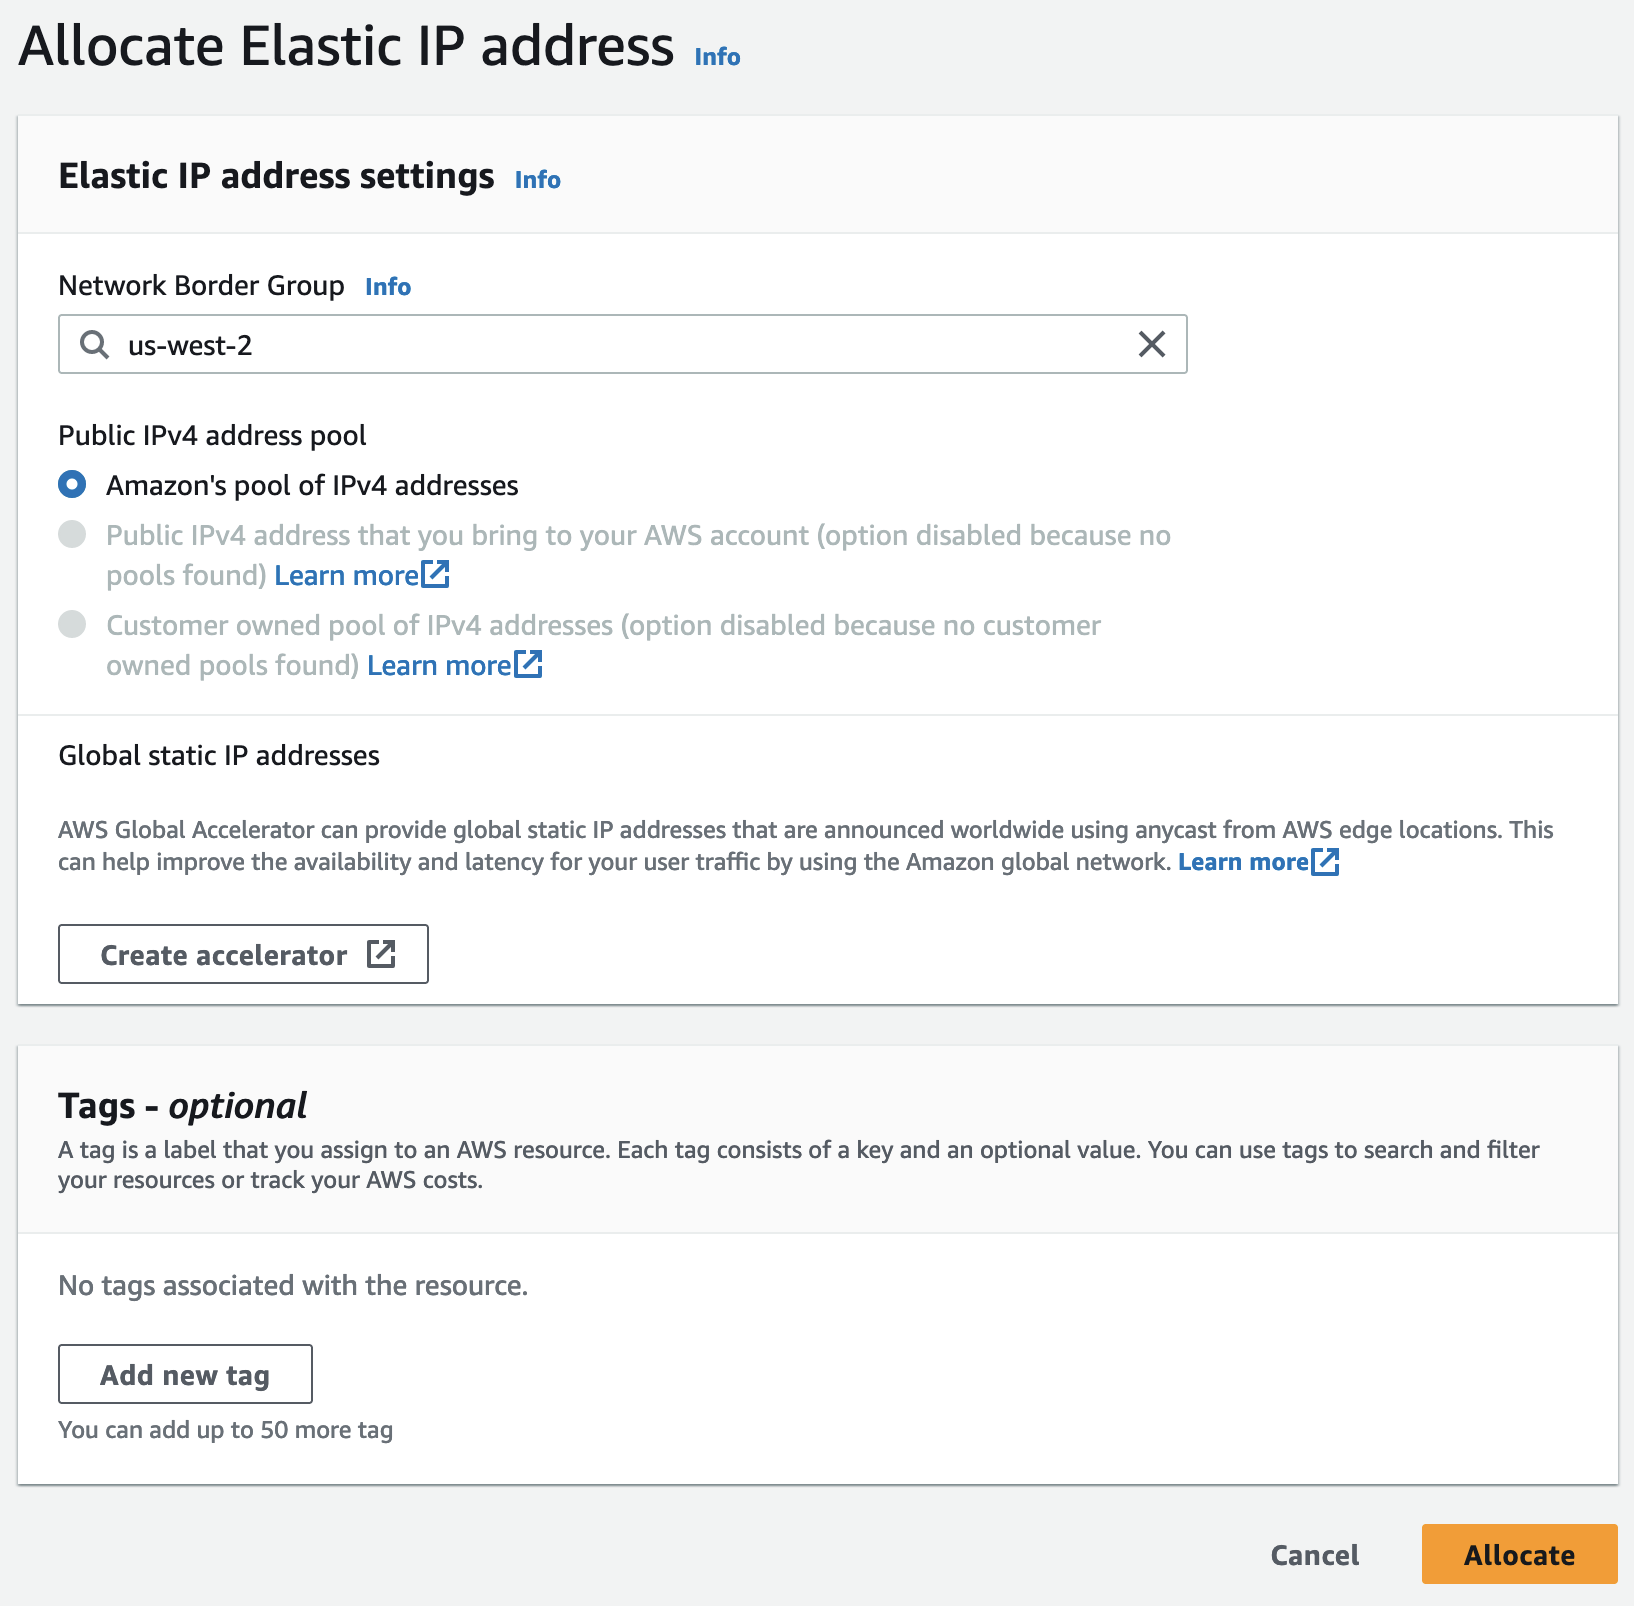
Once the Elastic IP address is created, assign a name to it.
Create Security Group
Prior to creating a Security Group, identify the VPC that you will use. You have the option to use the default VPC associated with your account, or you can choose to create a separate VPC to isolate YOUnite’s traffic. Navigate to EC2 → Security Groups → Create Security Group
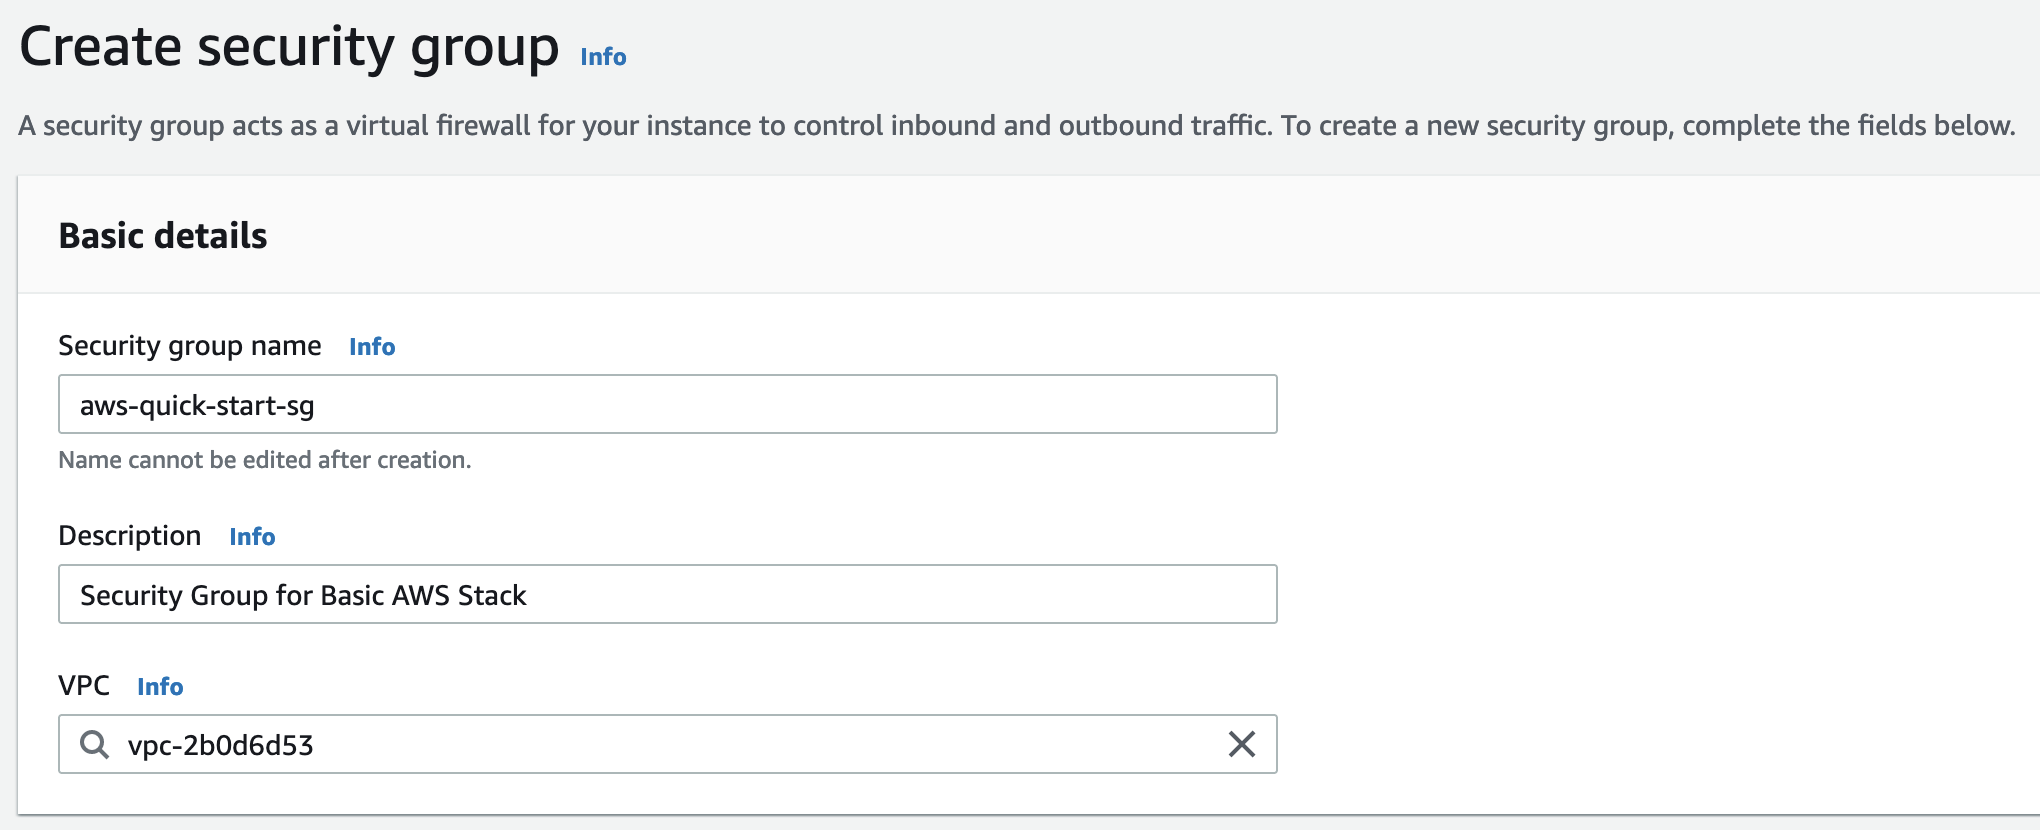
Define the Security Group Name and Description for the Security Group and note the VPC to apply this Security Group to the Instance when it is launched.
Select Add Rule and add the following Inbound Rules:
| Type | Protocol | Port Range | Source | Description |
|---|---|---|---|---|
ssh |
TCP |
22 |
0.0.0.0/0 |
|
http |
TCP |
80 |
0.0.0.0/0 |
|
https |
TCP |
443 |
0.0.0.0/0 |
|
Custom TCP |
TCP |
5601 |
0.0.0.0/0 |
Kibana |
Custom TCP |
TCP |
8080 |
0.0.0.0/0 |
YOUnite API |
Custom TCP |
TCP |
8082 |
0.0.0.0/0 |
YOUnite Data Notification Service |
Custom TCP |
TCP |
8084 |
0.0.0.0/0 |
YOUnite Data Virtualization Service |
Custom TCP |
TCP |
8800 |
0.0.0.0/0 |
Keycloak |
Also, include the following Inbound Rules if running the “Biz Demo” and you want to access the databases from outside AWS (with DBeaver):
| Type | Protocol | Port Range | Source | Description |
|---|---|---|---|---|
Custom TCP |
TCP |
27018 |
0.0.0.0/0 |
Postgres |
Custom TCP |
TCP |
27019 |
0.0.0.0/0 |
SQL Server |
Custom TCP |
TCP |
27020 |
0.0.0.0/0 |
MySQL |
Custom TCP |
TCP |
27021 |
0.0.0.0/0 |
Oracle |
When all rules have been added, click Create Security Group
Locate an Existing AWS Key Pair or Generate a New One
Use an existing key pair or navigate to EC2 → Key Pairs and select Create Key Pair
-
Enter a name for the key pair
-
Select RSA and .pem
-
Select
Create Key Pair
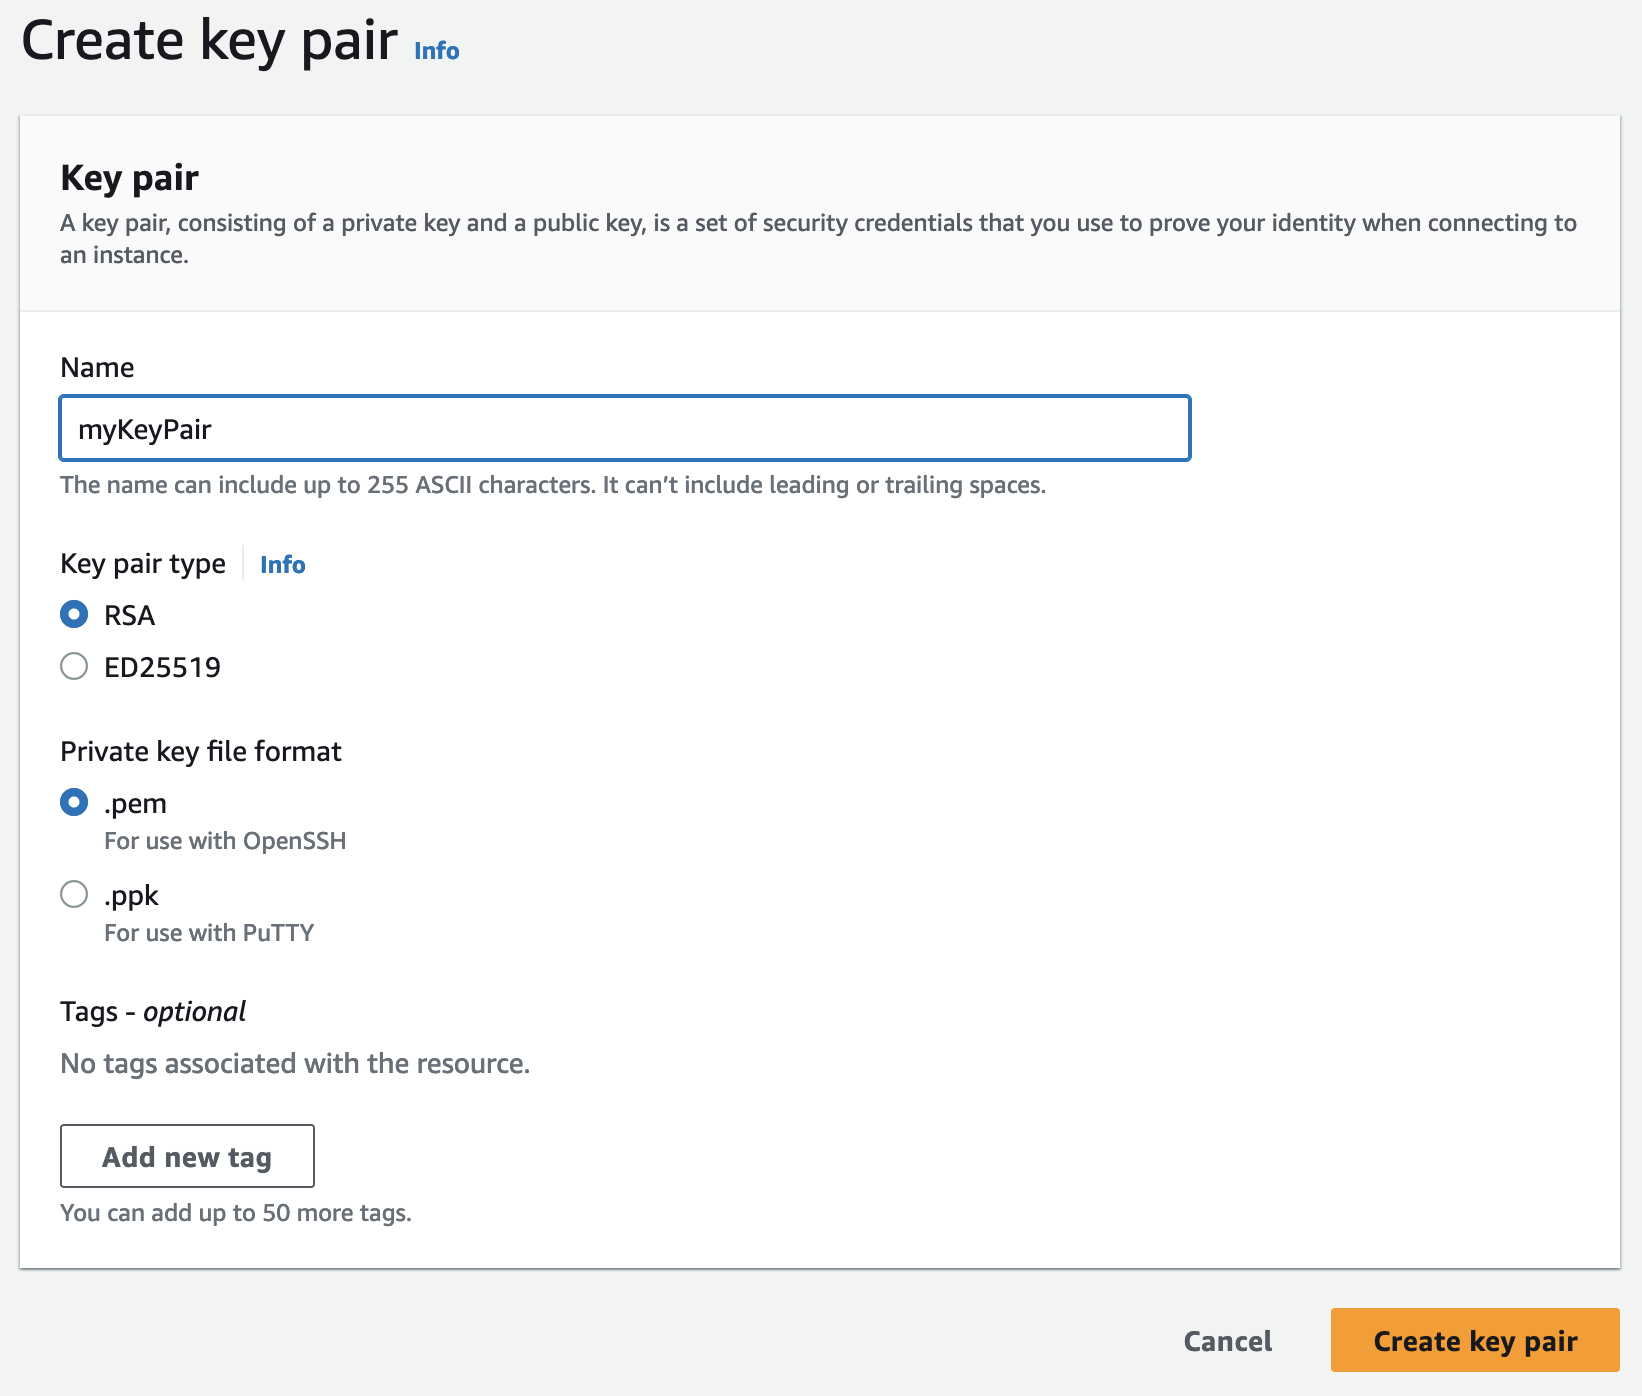
A myKeyPair.pem file will be created which will be required to ssh into the AWS instance to be created.
Launch the EC2 Instance
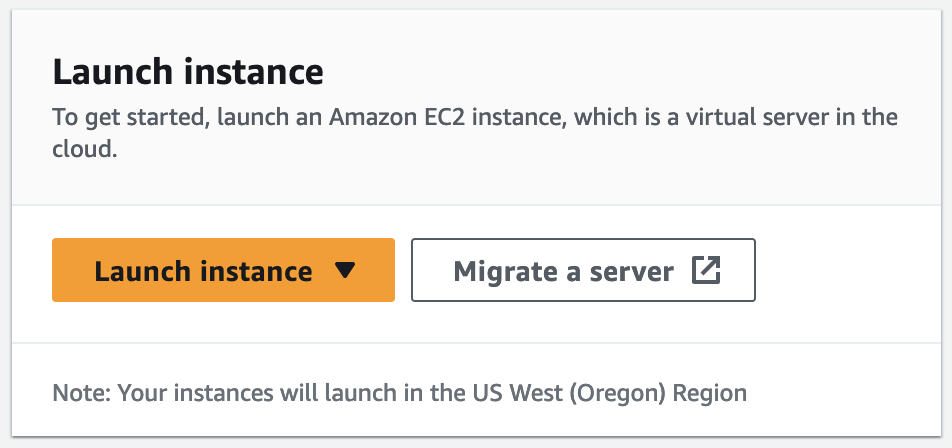
On the EC2 main page select Launch Instance.
Make the following selections on the Launch and Instance page:
-
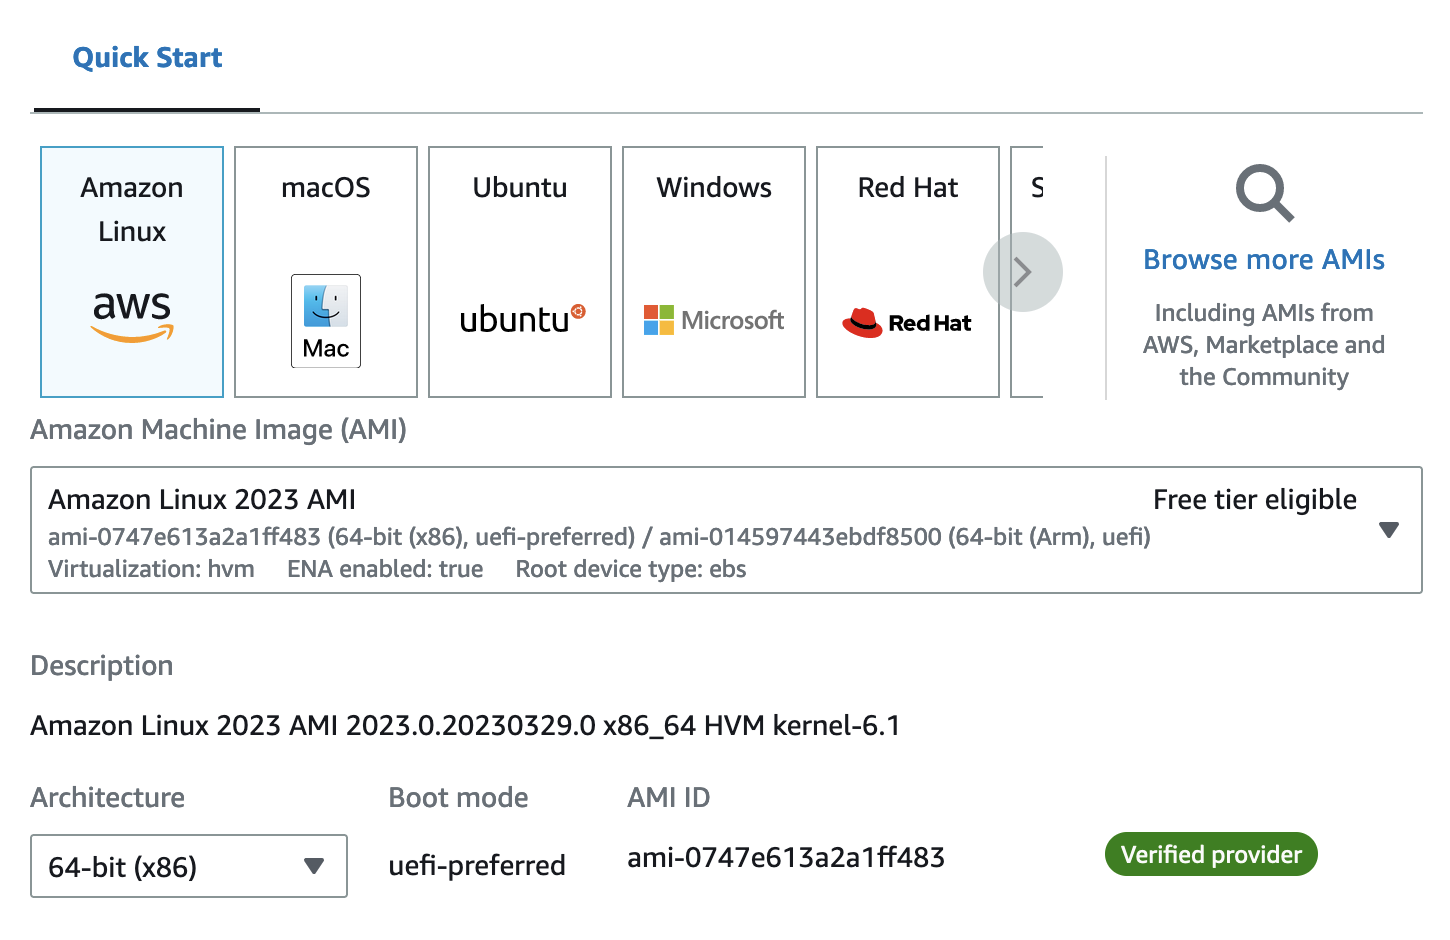
Application and OS Images (Amazon Machine Image) - Select Amazon Linux AMI
-
Instance Type - Select t3.2xlarge. The YOUnite stack and the Biz Demo require 8 cores and 32 GB of memory.

-
Key pair (login) - Select your Key Pair

-
Network Settings - Select
Select existing security groupand then select the Security Group name that you just created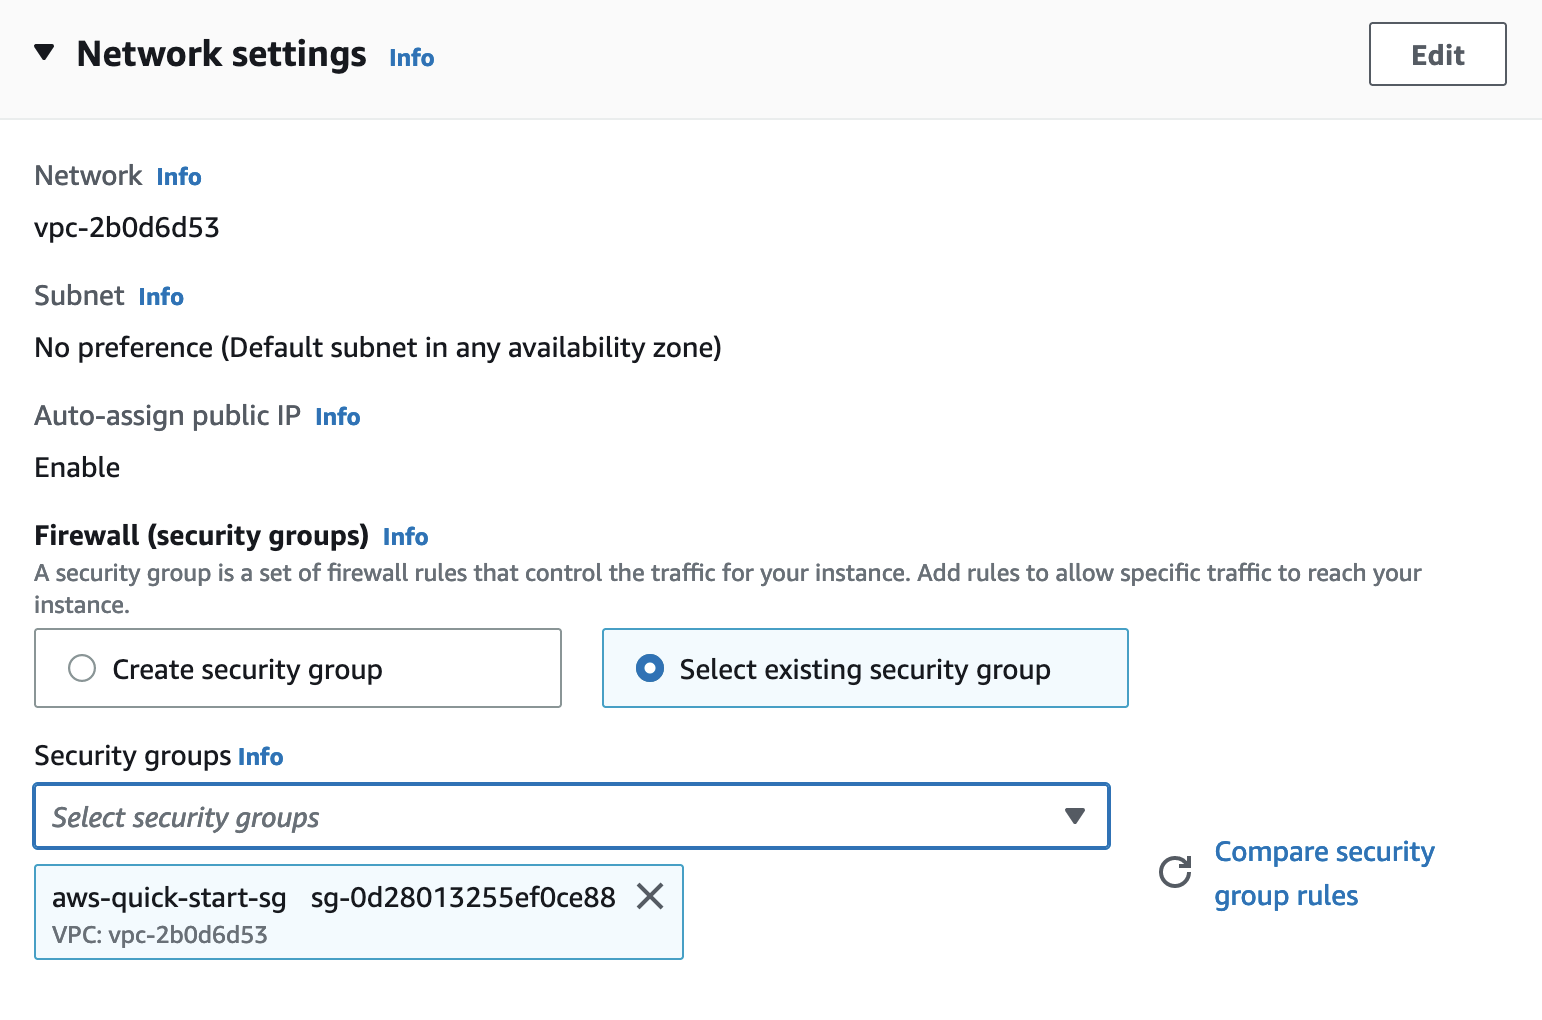
-
Configure Storage - Select a 30Gb of gp3 storage

-
Launch the instance by clicking
Launch Instance -
View your new instance and note its “Instance ID” and not it’s Public IP which is about to be changed:

Associate the Elastic IP with the Instance
Associating an Elastic IP to the instance is required so that a static IP address is maintained whenever the instance is restarted.
-
Go to EC2 → Elastic IP addresses
-
Select the Elastic IP address that was created and from the “Actions” pulldown, select “Associate Elastic IP address”
-
Select the “Instance” text input, Select your running instance ID from the pulldown, and click
Associate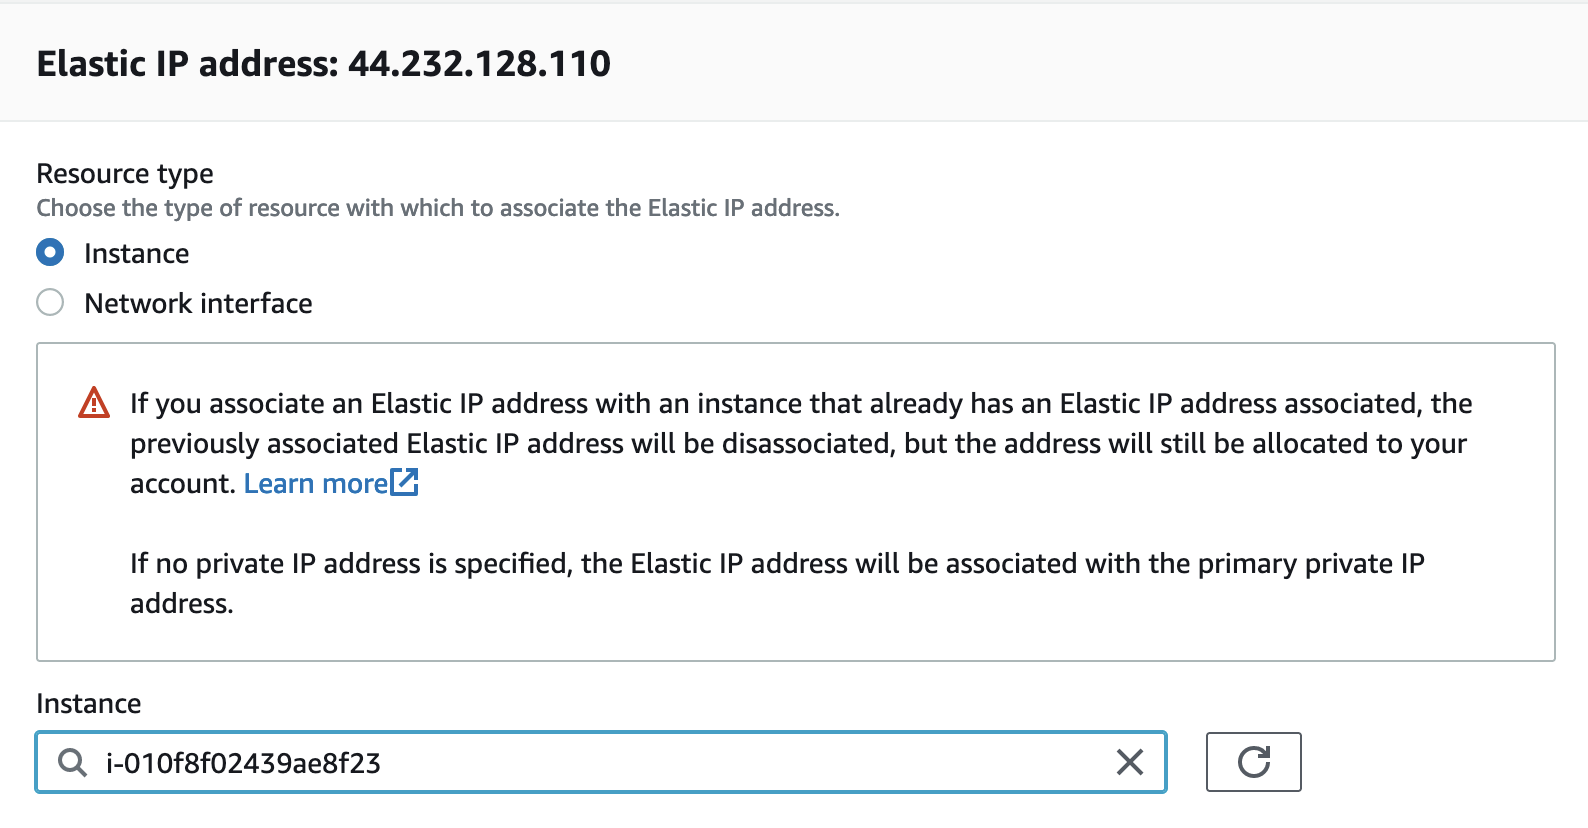
-
The following screen will show the Elastic IP address allocated to the selected Instance:

-
Return to the Instances page and notice that the Public IP has changed to the Elastic IP address

Local System: Add the Elastic IP to local /etc/hosts File
Create a YOUnite hostname such as aws.mycompany.org, in your local host file (/etc/hosts) with the corresponding Elastic IP.
For example, assuming your Elastic IP address is 52.1.51.239, here is a sample:
52.1.51.239 aws.mycompany.orgConfiguring the AWS Instance
Complete the following steps to configure the AWS Instance to run YOUnite.
Log in to the Instance
Login to the instance using the .pem file and the YOUnite hostname name added earlier to the local /etc/hosts file.
Use the user name: ec2-user
Remember to run:
chmod 400 <your-pem-file>.pemExample login:
ssh -i younite-instance.pem ec2-user@aws.mycompany.orgUpdate /etc/hosts on the Instance
Open the /etc/hosts file and append the YOUnite Hostname to the end of the localhost entry:
sudo vi /etc/hostsEdited host entry:
127.0.0.1 localhost ... <YOUnite Hostname>
or
127.0.0.1 localhost ... aws.mycompany.org
Test:
ping aws.mycompany.orgInstall AWS CLI on the Instance
curl "https://awscli.amazonaws.com/awscli-exe-linux-x86_64.zip" -o "awscliv2.zip"
unzip awscliv2.zip
rm awscliv2.zip
Configure ECR Access on the Instance
Run aws configure entering the ECR Access keys mentioned in the Prerequisites section and AWS region for the instance.
aws configure
AWS Access Key ID []: AKIACCDDEEFFGGHHIIJJ
AWS Secret Access Key []: 000111DDDccchDDDEEEE333777777QXHj8T
Default region name []: us-west-2
Default output format [text]:
Configuration Changes Required for Elastic
sudo vi /etc/sysctl.confAdd the following and save:
vm.max_map_count=262144Apply the change to the running instance:
sudo sysctl -w vm.max_map_count=262144Install Docker and Docker Compose Plugin
sudo yum –y install docker
sudo usermod -a -G docker ec2-user
newgrp docker
sudo systemctl enable docker.service
sudo systemctl start docker.service
sudo chmod 666 /var/run/docker.sock
sudo yum -y install python-pip
Fix AWS Docker External Connectivity Issues
Perform the following two edits and restart docker:
sudo vi /etc/docker/daemon.jsonAdd the following and save:
{
    "dns": ["1.1.1.1", "8.8.8.8"]
}
sudo vi /etc/sysconfig/dockerAnd edit the following line and save:
OPTIONS=--default-ulimit nofile=32768:65536”
to
OPTIONS=--default-ulimit nofile=65536:65536”
Restart Docker:
sudo systemctl restart dockerInstalling and Running YOUnite
Perform the following steps to run YOUnite on the AWS Instance:
Download the YOUnite Lab Scripts
curl "https://younite.us/attachments/local-stack-scripts.zip" -o "local-stack-scripts.zip"
unzip local-stack-scripts.zip
rm local-stack-scripts.zip

mkdir younite
mv scripts younite
chmod +x younite/scripts/*sh
Define the YOUNITE_HOSTNAME Environment Variable
Define the following environment variable in each within each shell running YOUnite services:
export YOUNITE_HOSTNAME=aws.mycompany.orgThis line may also be added to the .bashrc file.
Start YOUnite
Start the Basic Stack:
./start.shOnce start.sh completes, you can optionally start the BizDemo:
./start-biz-demo.shLogin to the YOUnite UI
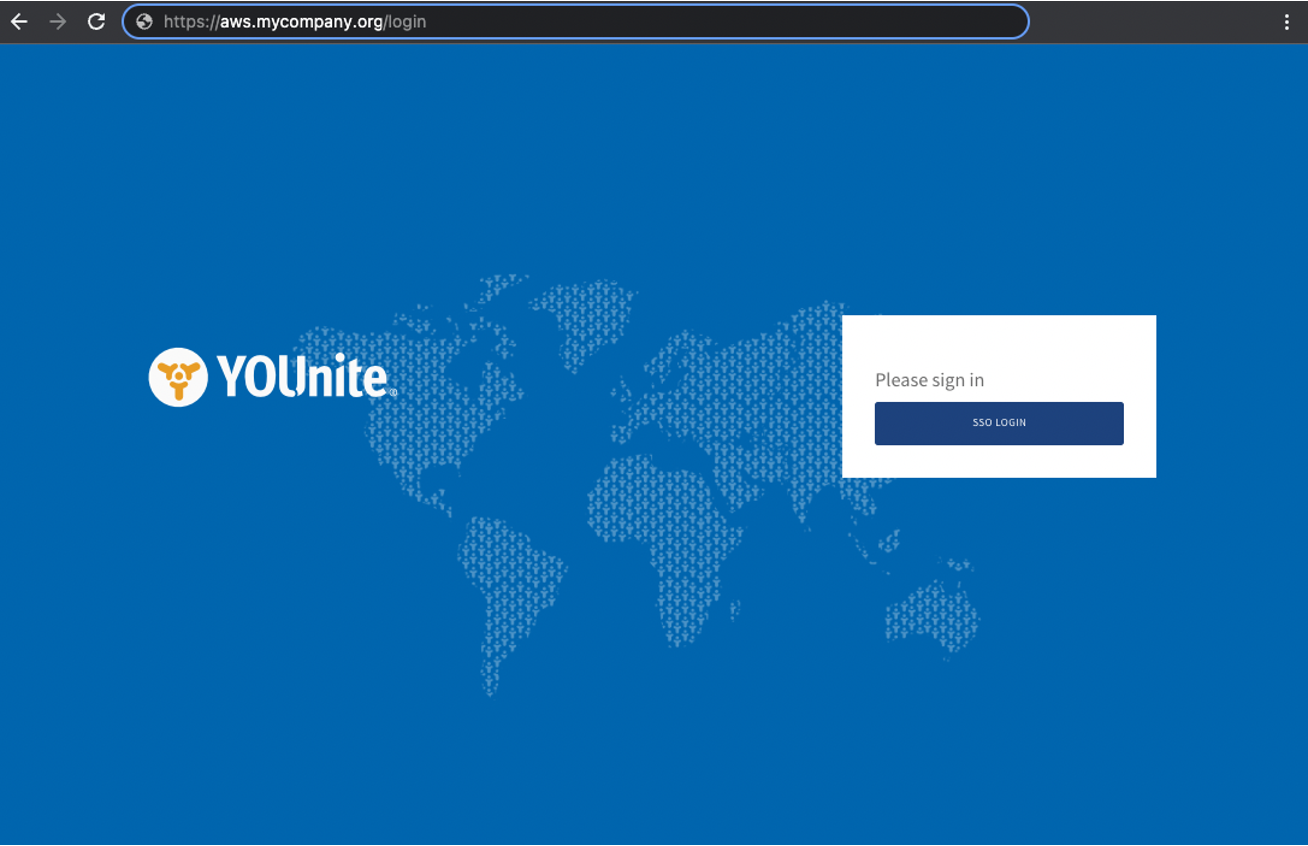
Stop the AWS Instance After Completion
To avoid AWS charges when the instances are not in use, be sure to stop the instance whenever you are finished running YOUnite.

Since an Elastic IP is configured, the instances can be restarted at any time using Instance State → Start Instance
Postman Setup on the Local System
If you want to user Postman, create a new "aws" environment and set the token_href and href variables using your YOUnite hostname
-
token_href - <YOUNITE_HOSTNAME>:8800/auth/realms/younite/protocol/openid-connect/token
-
href - <YOUNITE_HOSTNAME>:8080/api
DBeaver Setup on the Local System
If configuring the Biz Demo, connect to the four databases with DBeaver using the following information.
| Database | Host | Port | Database | Username | Password |
|---|---|---|---|---|---|
Postgres |
<instance-ip> |
27018 |
biz |
postgres |
mysecretpassword |
SQL Server |
<instance-ip> |
27019 |
biz |
sa |
Str0ngPwd! |
MySQL |
<instance-ip> |
27020 |
biz |
biz |
password |
Oracle |
<instance-ip> |
27021 |
XE |
C##BIZ |
TEST |
|
Note
|
The MySQL connection will fail with a Public Key Retrieval is not allowed until you select Driver Properties and change the following settings: |
-
allowPublicKeyRetrieval: true
-
useSSL: false
See Biz Demo for further reference.
Managing Docker
Docker Desktop and DockStation only run locally on the system so to manage the instance, you must login to the instance and use Docker and Docker Compose command line tools.