This document describes deploying and using data virtualization using the YOUnite JDBC connector and GraphQL API intereface.
Prerequisites
JDBC Data Access
Configure the YOUnite JDBC Driver
-
Download the latest YOUnite Driver here and note where it is stored.
-
Using DBeaver, select Driver Manager from the Database pulldown:

-
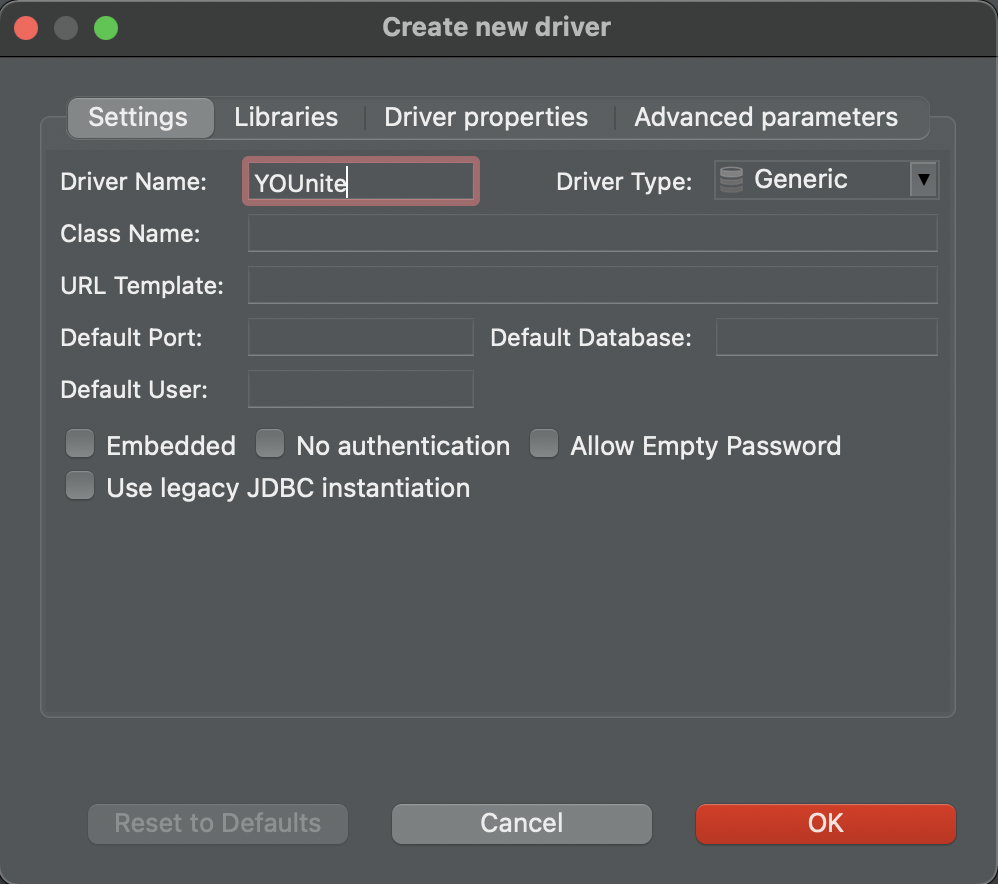
Select
Newand in theSettingstab, enterYOUniteas the Driver Name: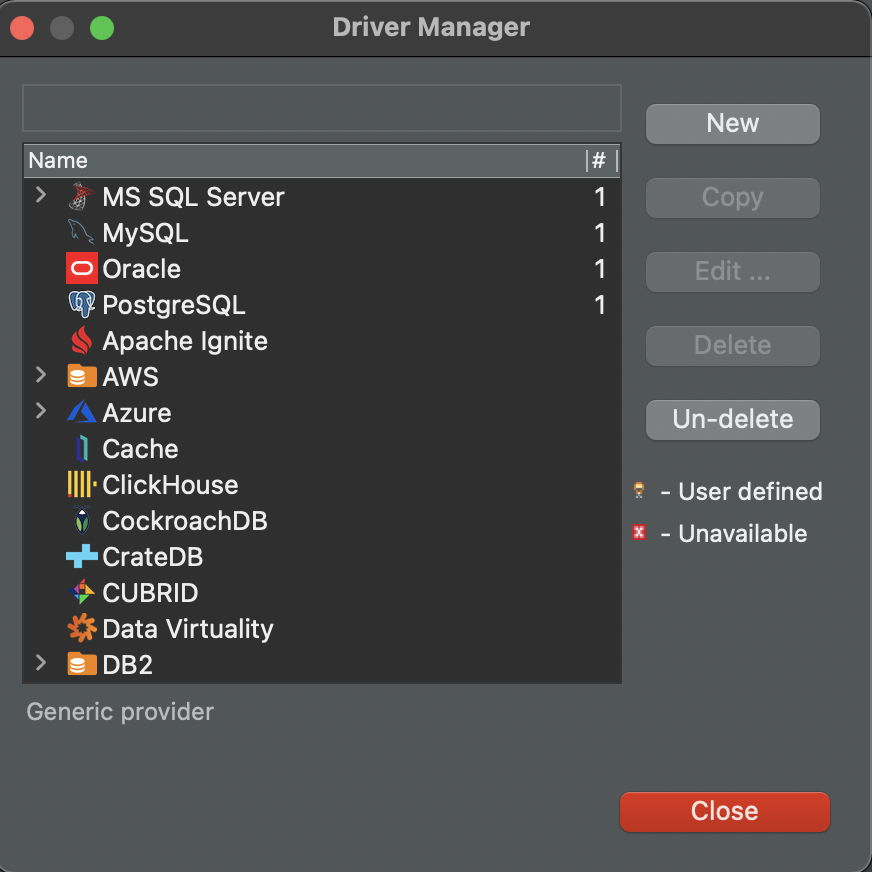
-
Select the
Librariestab: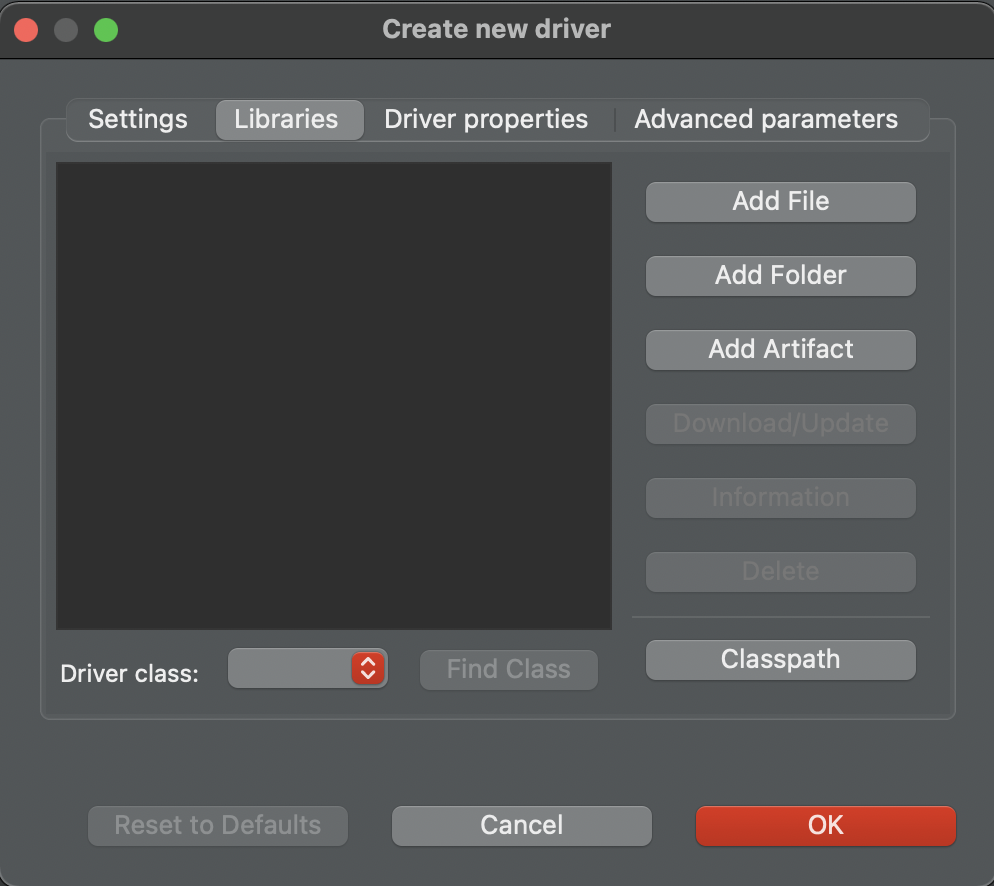
-
Select
Add Fileand select the path to the downloaded YOUnite JDBC Driver: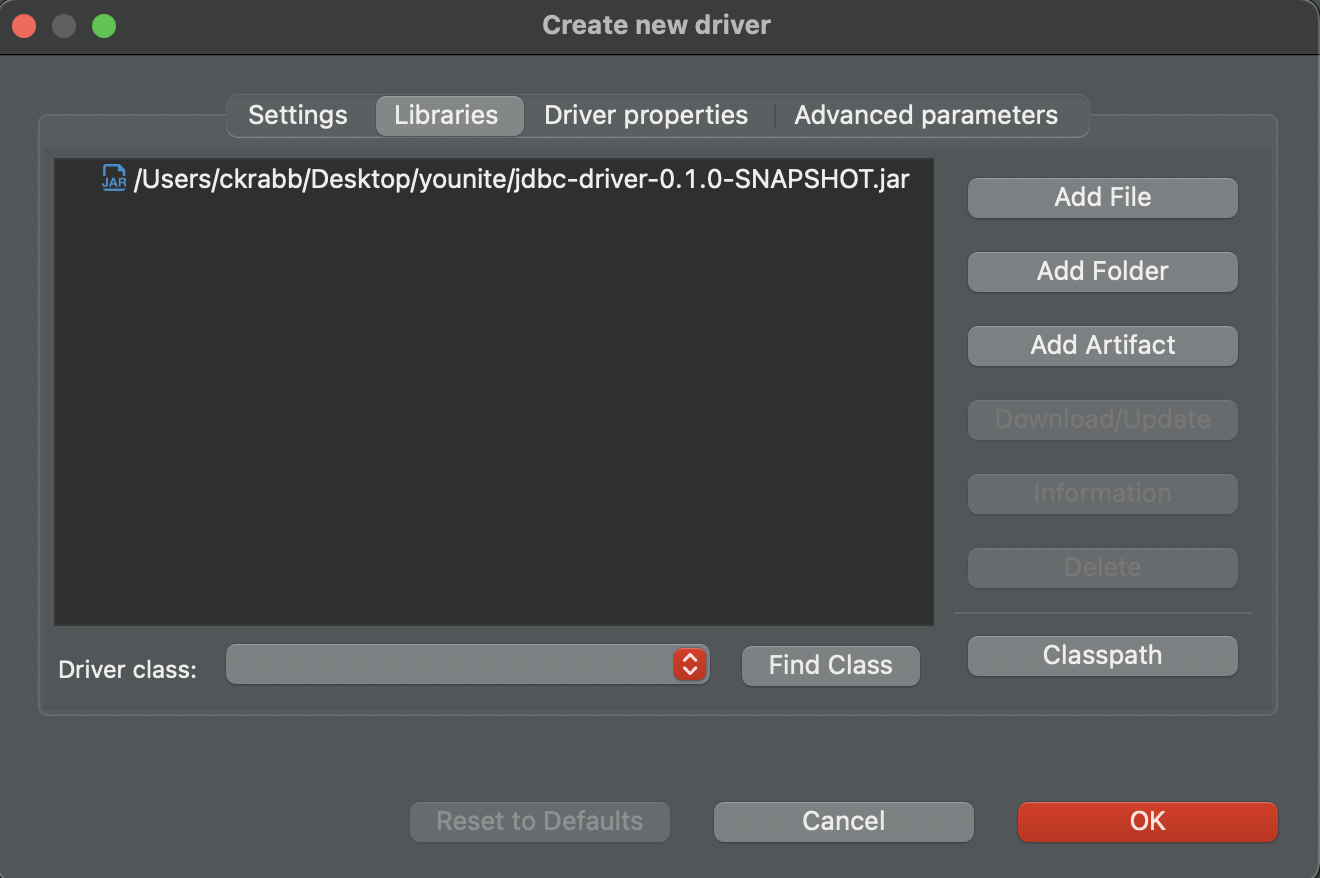
-
Select
Ok
-
Make the JDBC Connection
-
Select
New Database Connectionfrom the Database pulldown: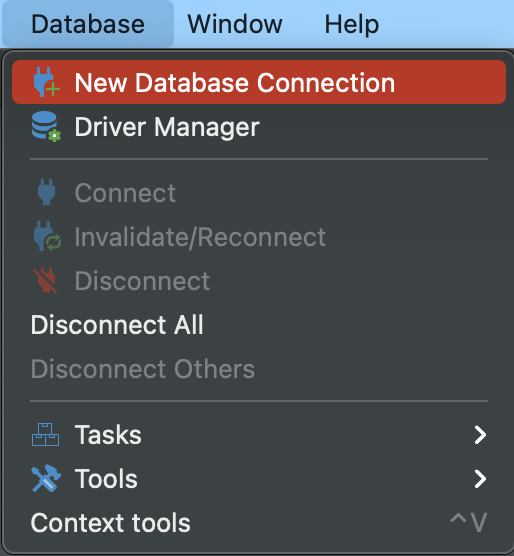
-
Search or find the “YOUnite” database:

-
To authenticate the connection:
-
Login to the YOUnite UI as
dgs.-
The YOUnite stack must be running to access the UI at: http://local.younite.org/dashboard
-
-
Once logged in, select the user icon in the upper right-hand corner and select
Access Token: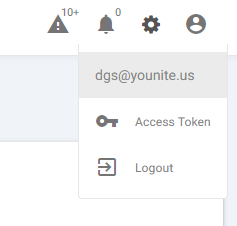
-
Copy the provided Access Token to the clipboard.
-
In DBeaver select the Main tab and paste the Access Token into the “Password” field. Do not enter a username.
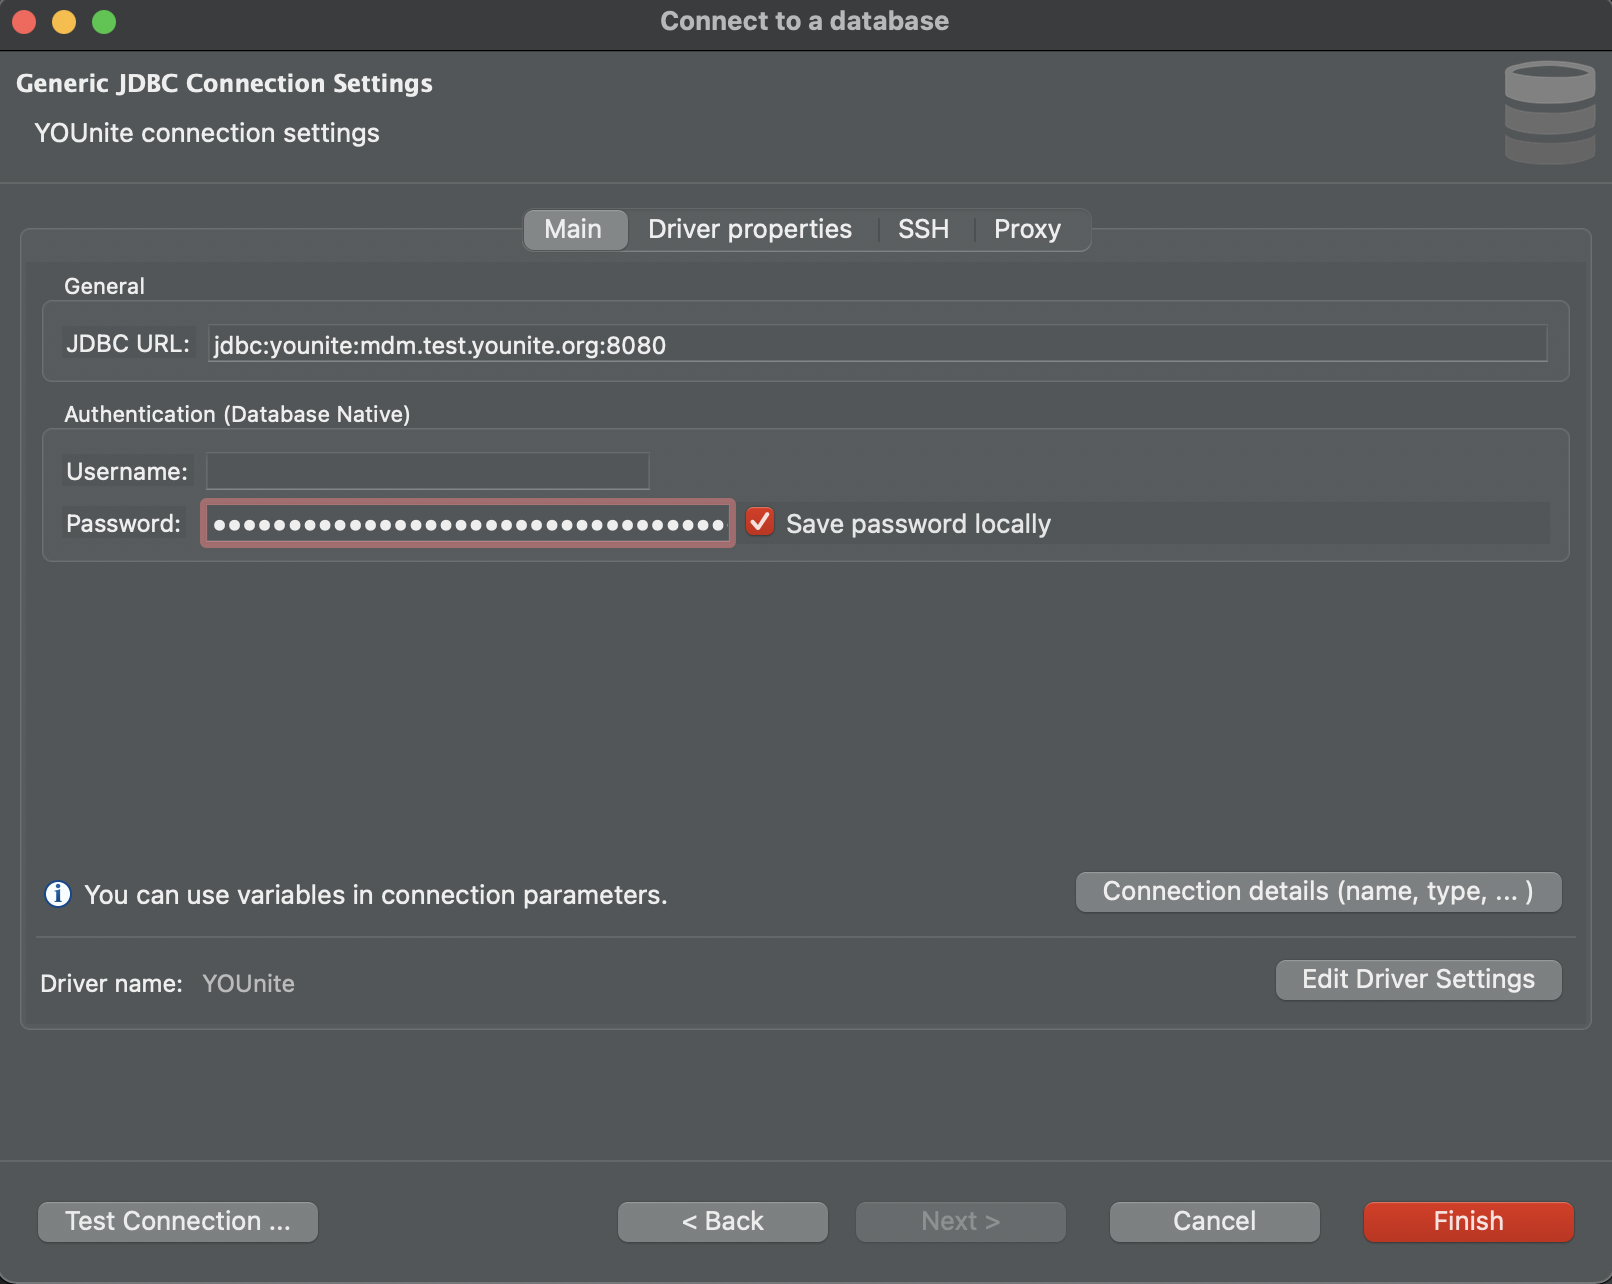
-
-
Next select
Connection Details. -
Enter “YOUnite” in the Connection Name field:

-
The Connection Name may also be found under
Generalwithin theNew Connectionconfiguration.
-
-
Select
Test Connection. If successful, a Connected pop-up will appear:
-
Select
Finish
Accessing the Data Tier With the JDBC Driver
-
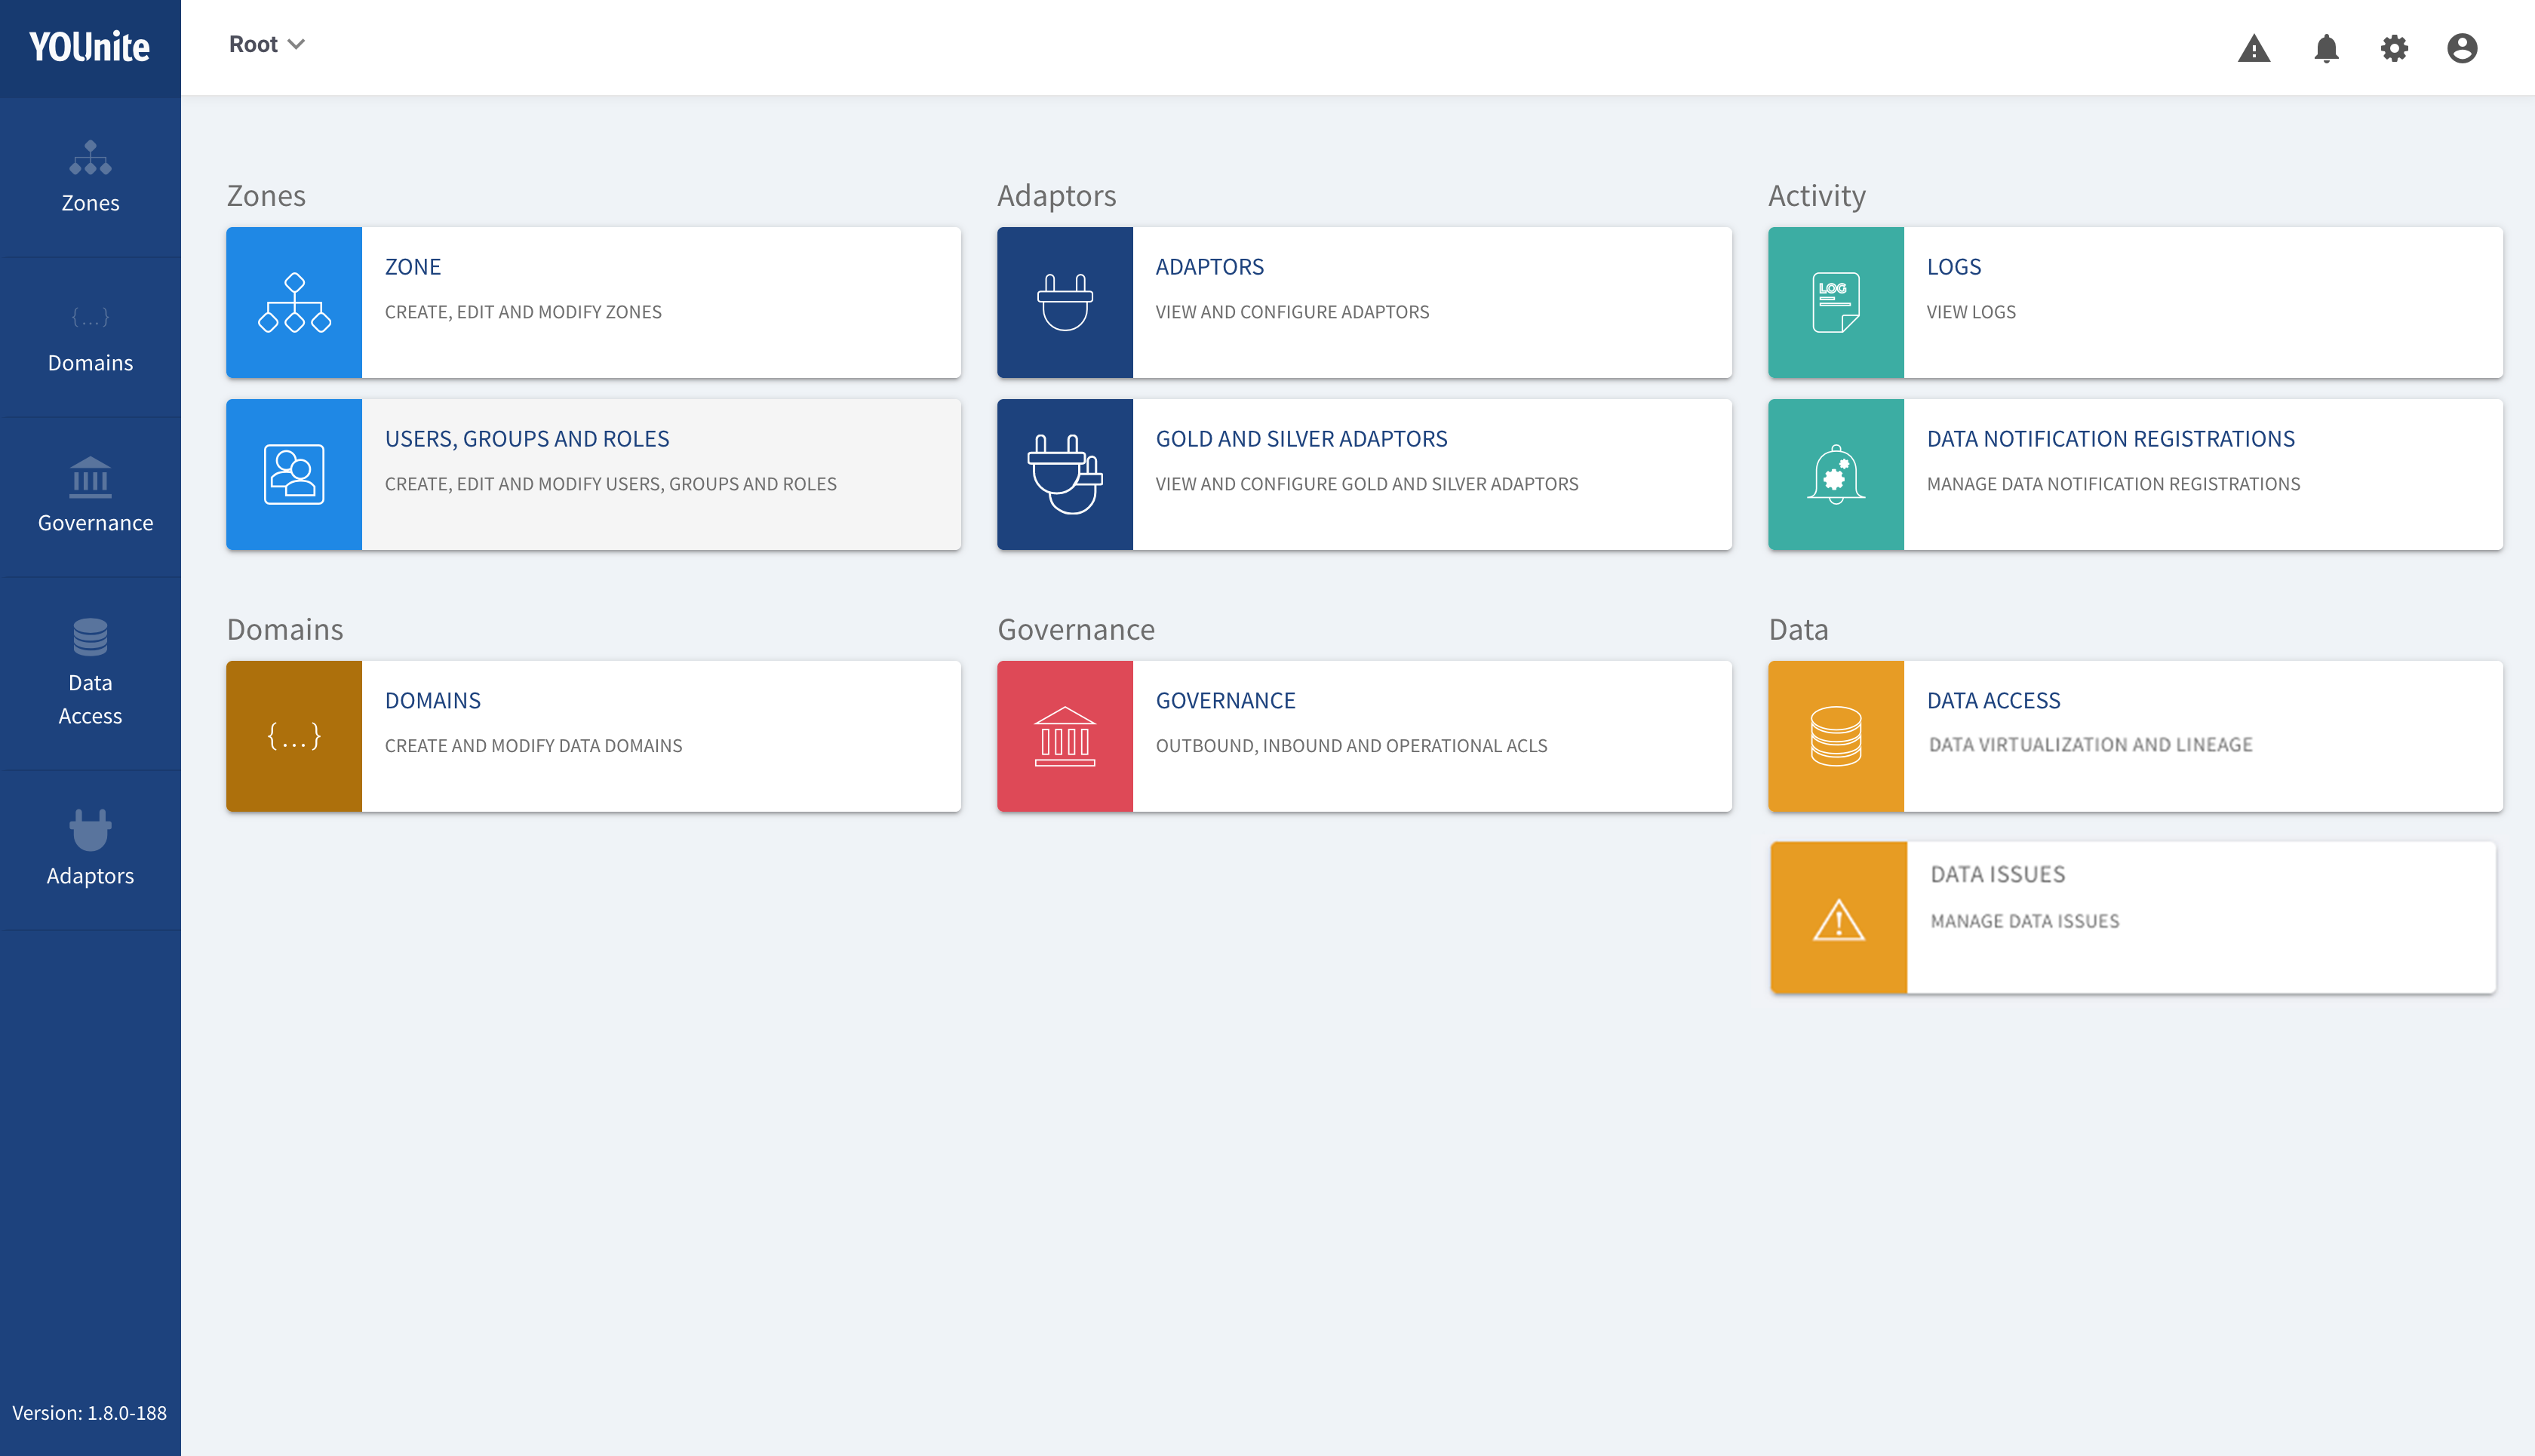
In DBeaver, open up the YOUnite connection.
-
From there select YOUnite > younite > data > Tables:

-
You can now visualize the data.
-
For example, this is the biz demo data:
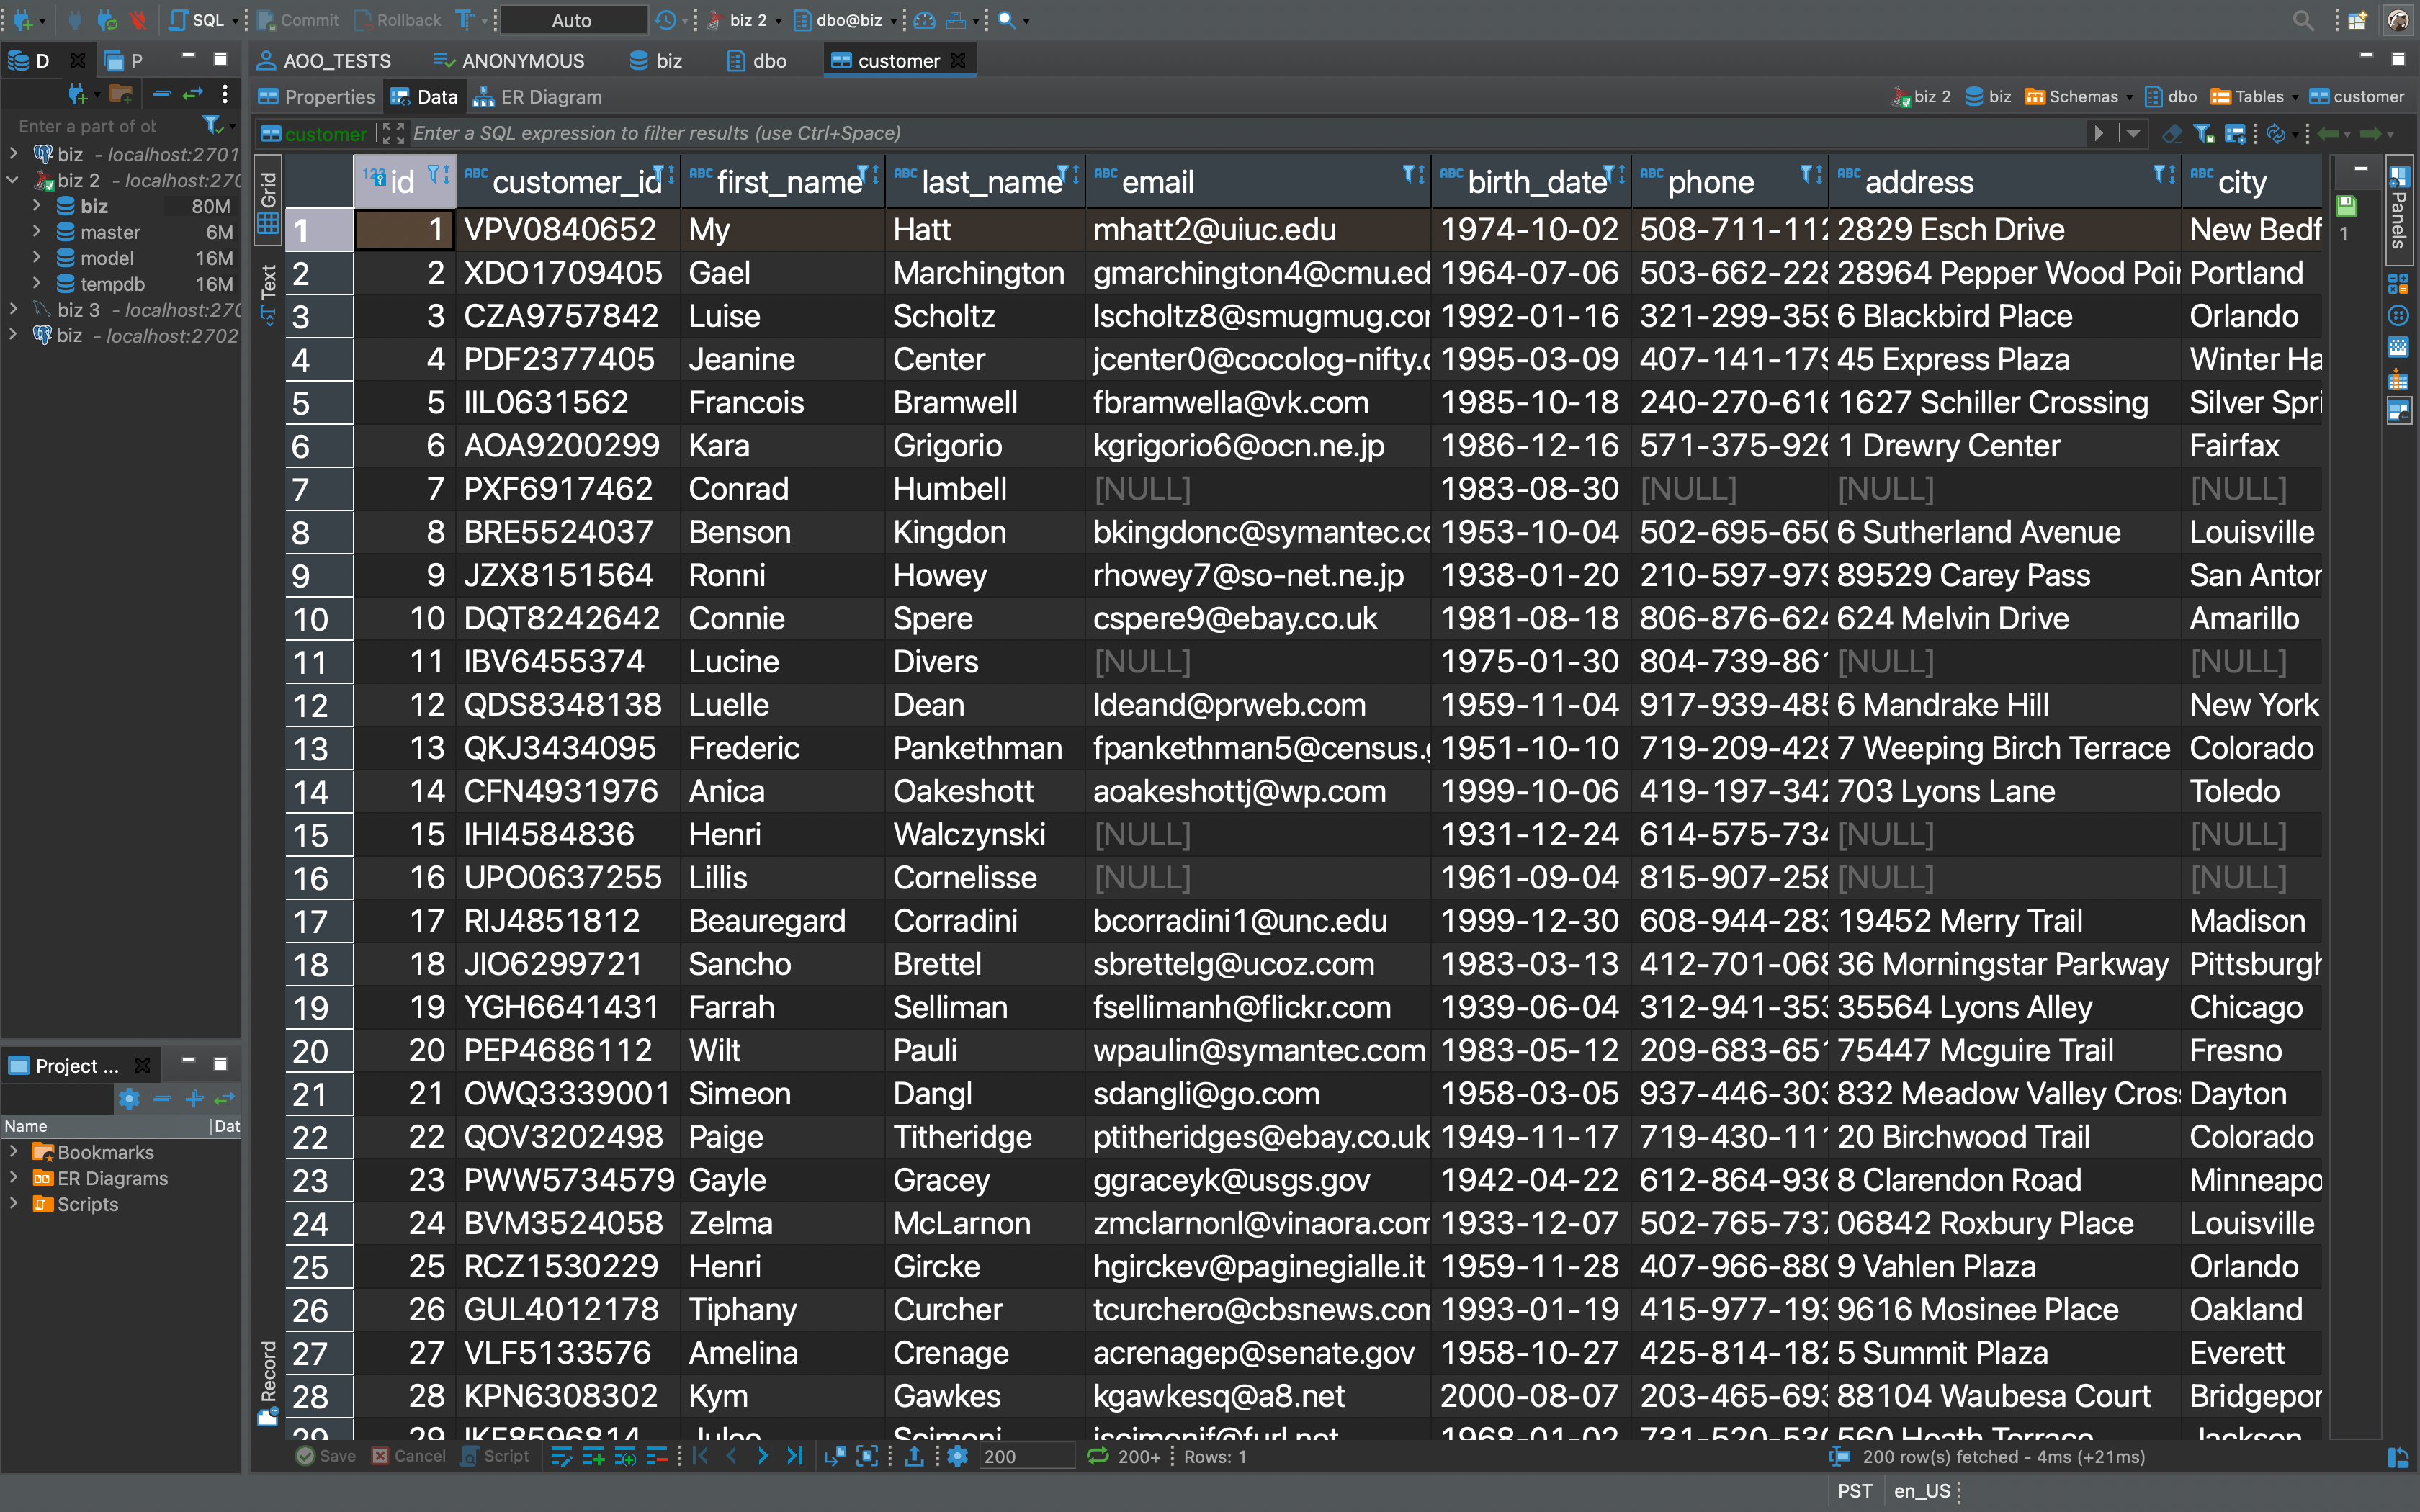
Note that data governance is applied to all data access requests and that all data access requests are logged.
-
GraphQL
Postman Setup
-
Download and Install Postman (creating an account is not necessary). Download Postman here.
-
Download the YOUnite GraphQL Collection file from the "Other" section of the YOUnite Downloads page.
-
Open Postman and select
Importfrom the top left. On Windows, theImportbutton can be found in theFiledropdown in the upper left.
-
A window will appear where files can be uploaded. Select the previously downloaded YOUnite collections file and select Upload.
-
Next select the eye icon on the top right of Postman. Select the
Addbutton for a new environment.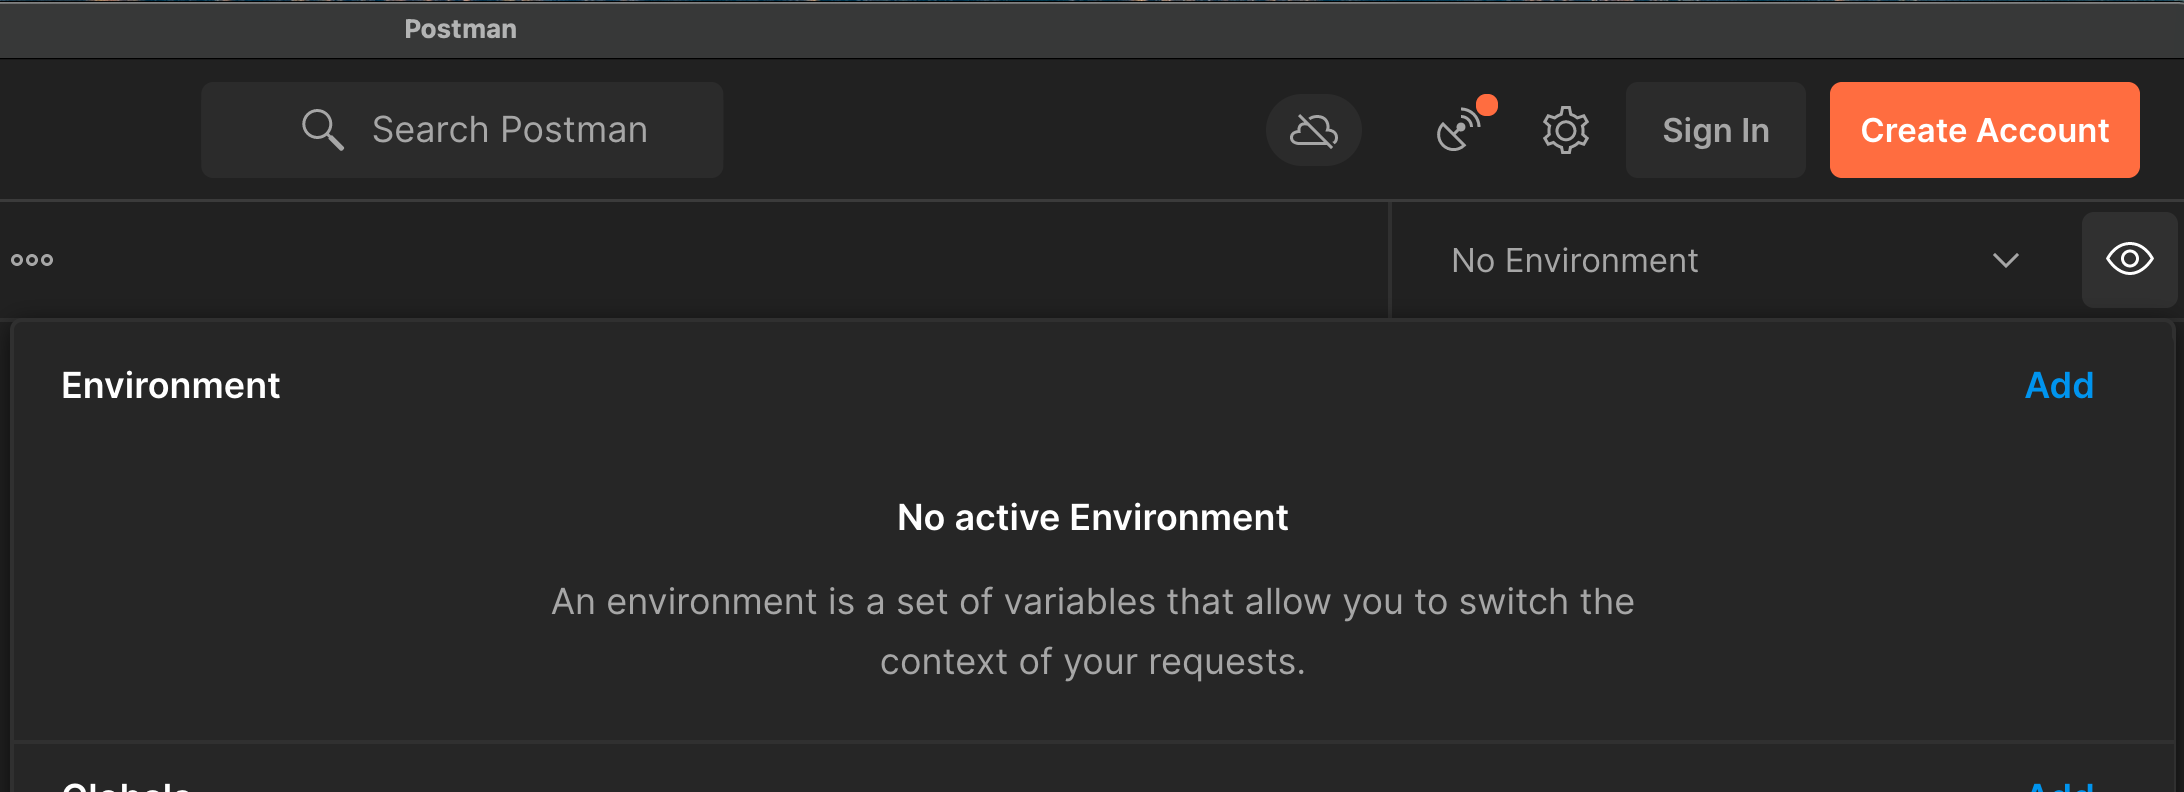
-
When creating the new environment, enter the name as “YOUnite Environment” and hit
Enter.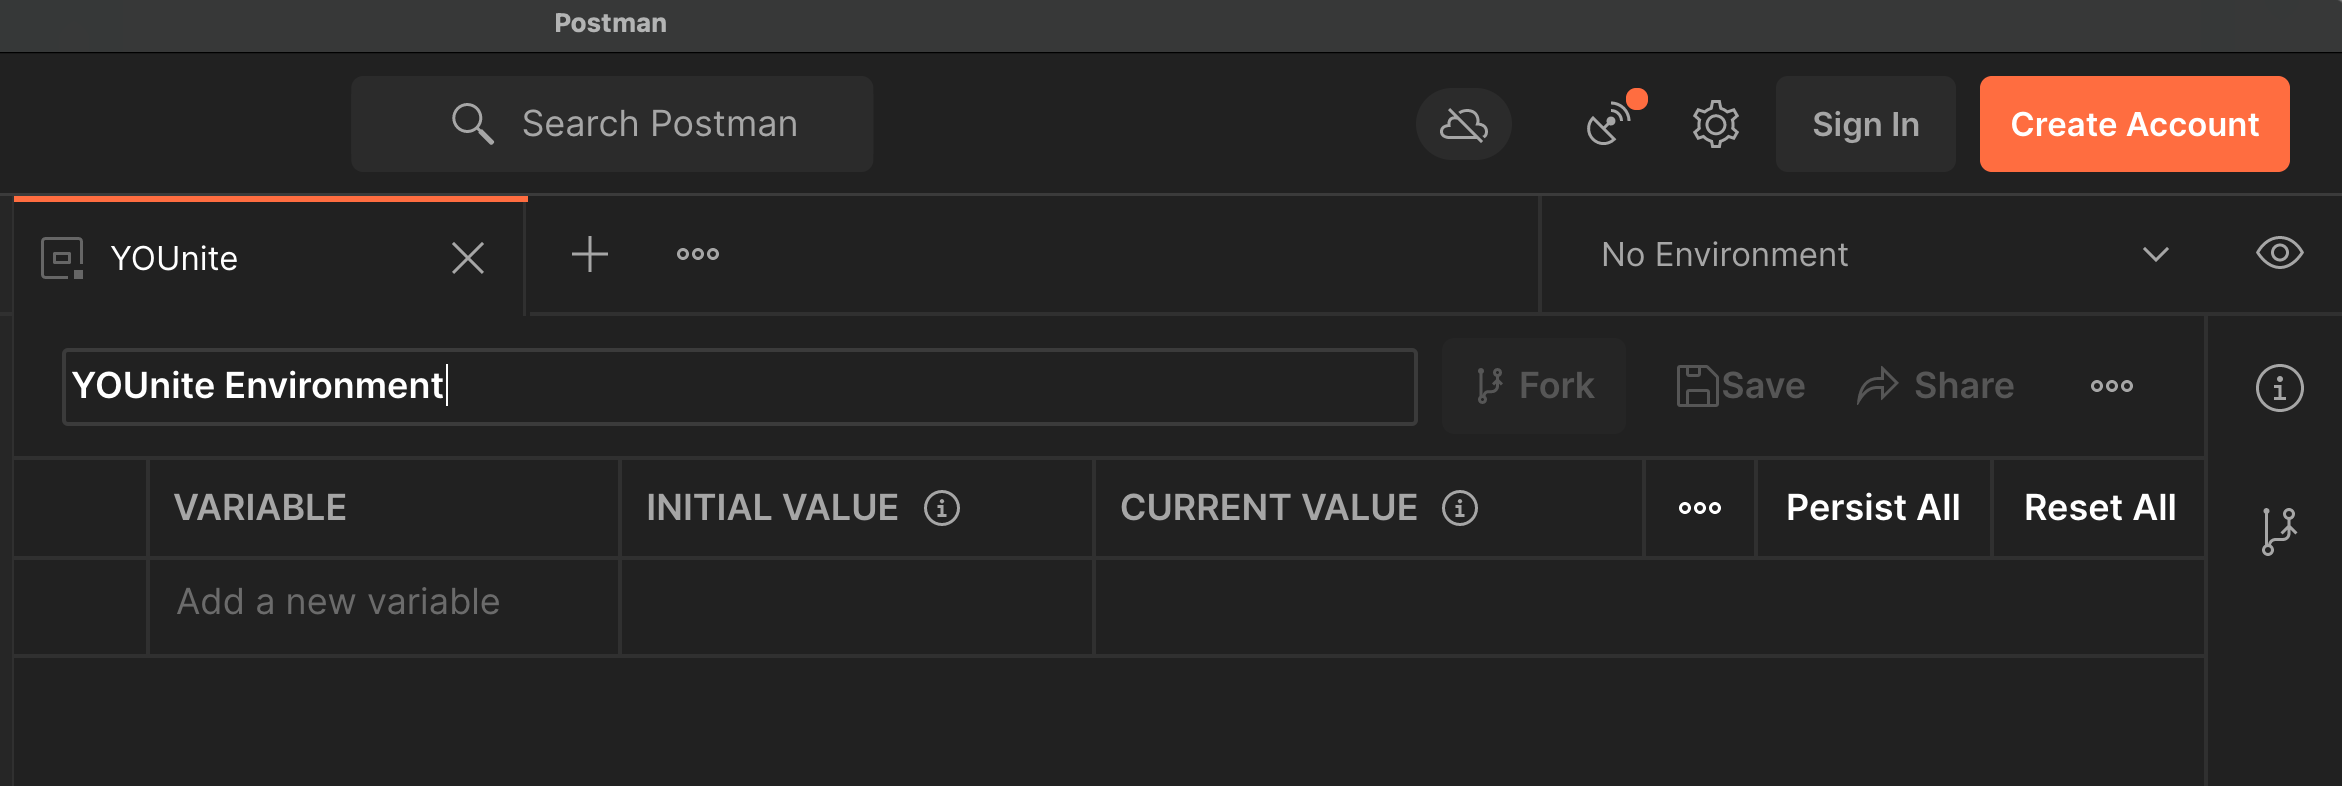
-
Next select the dropdown arrow to the left of the eye icon and select the
YOUnite Environment. -
Under the “GraphQL - YOUnite Biz Demo”, expand the contents using the arrow to the left.
-
Select “Get dgs token” and select
Sendon the far right. An access token should be returned in the console below.
Accessing the Data Tier with GraphQL

-
Similar to “Get dgs token”, select
Sendfor each of the remaining requests. -
You can retrieve YOUnite metadata and the data tier with GraphQL:
-
The "POST Get Domains [simple]" request is an example of getting YOUnite metadata. This example is getting a list of all data domains.
-
The "POST Get Drs[employee]" and "POST Get Drs[employee] w/Query" requests are examples of accessing data across your entire data tier. The second example implements a query for specific data records.
-
Note that data governance is applied to all data access requests and that all data access requests are logged.